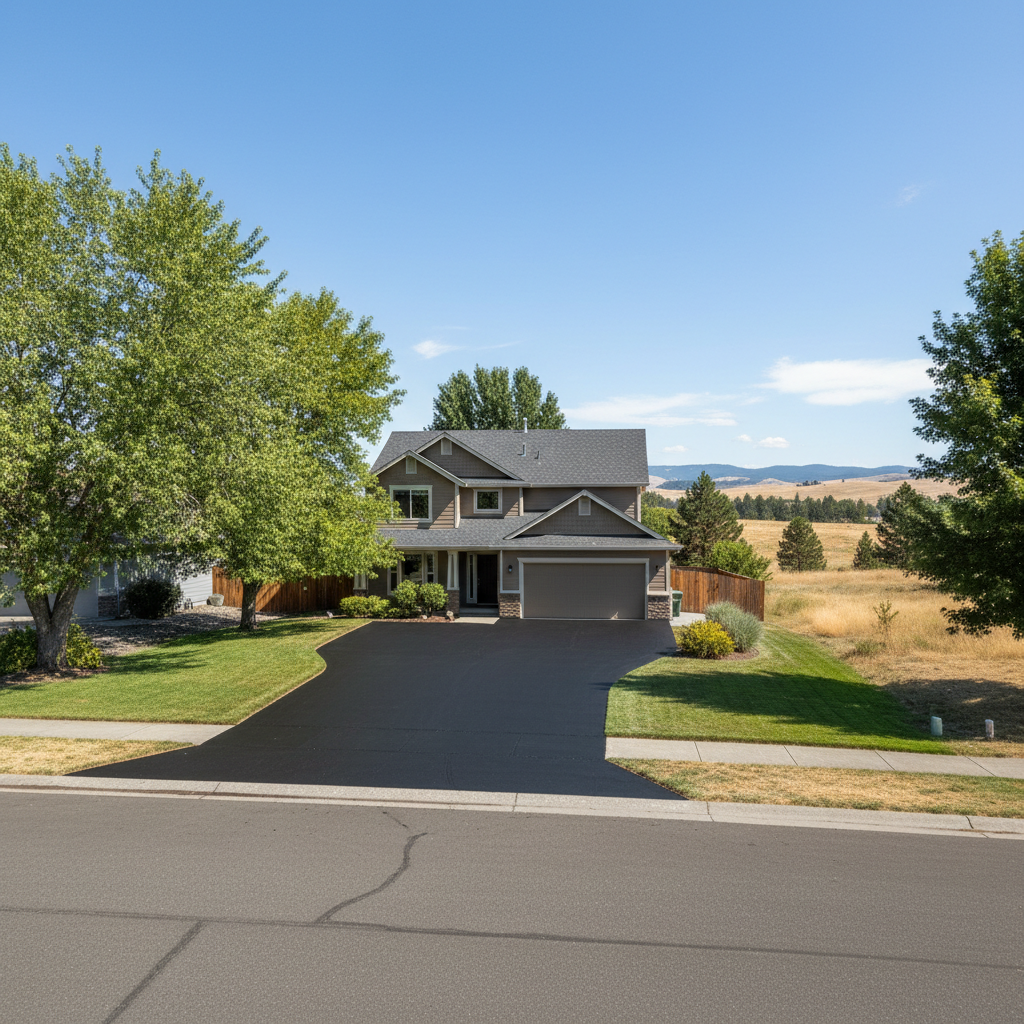
So, you're thinking about sealcoating that asphalt driveway or parking area. Good call. It's one of the best things you can do to protect your investment, especially with our Yakima sun beating down on it all summer and the freeze-thaw cycles we get in winter. But before you jump in, let's talk about how to plan this thing out right. You want it done well, and you want to know what's happening every step of the way.
When's the Best Time to Sealcoat in Yakima?
This is probably the first question I get asked, and it's a critical one. You can't just sealcoat any old time. The material needs specific conditions to cure properly, and that means warm, dry weather. Here in Yakima, that usually puts us in a sweet spot from late April or May through September, sometimes into early October if we get a nice, long fall. What you're really looking for is consistent daytime temperatures of at least 50°F (and ideally 60°F or higher) and no rain in the forecast for at least 24-48 hours after application. Trying to do it when it's too cold or wet is just asking for trouble – the sealer won't bond right, it'll peel, and you'll be wasting your money. So, plan for those warmer months. Don't try to rush it in early spring when we still get those chilly mornings, or too late in the fall when the nights start dipping.
What to Expect During the Sealcoating Process
Okay, you've picked your contractor and scheduled the work. What's actually going to happen? The process generally breaks down into a few key stages:
Cleaning and Prep: This is huge, and honestly, it's where a lot of less-than-stellar jobs go wrong. We'll start by thoroughly cleaning the surface. That means blowing off loose debris, sweeping, and sometimes even power washing to get rid of dirt, grime, and any oil spots. Any weeds growing through cracks will be pulled or treated. If there are oil or gas stains, they'll need to be primed or treated so the sealer adheres properly.
Crack Filling: Before any sealer goes down, all cracks need to be filled. We use a hot-applied rubberized crack filler for anything wider than a quarter-inch. This stuff expands and contracts with the pavement, keeping water out. Smaller hairline cracks might get filled by the sealcoat itself, but bigger ones need dedicated attention. This step is non-negotiable for a lasting job.
Applying the Sealcoat: Once everything's clean and cracks are filled, it's time for the sealer. It's usually applied in two thin coats, allowing proper drying time between each. We typically use spray applicators for a smooth, even finish, but brushes and squeegees are used for edges and tighter spots. You'll see the crew working systematically across your driveway.
Curing Time: This is the part where you need patience. After the final coat, you absolutely cannot drive or even walk on the freshly sealed surface for at least 24-48 hours, sometimes longer if it's cooler or humid. We'll put up barricades or tape to help you remember. Driving on it too soon will leave tire marks and damage the new surface. It needs to fully cure to achieve its maximum durability and dark, rich color. Think of it like fresh paint; you wouldn't touch it right away, right?
How to Prepare Your Property
You've got a role to play too! A little preparation on your end makes the job smoother and helps ensure a great result:
Clear the Area: Move your cars, boats, RVs, basketball hoops, trash cans, planters – anything that's on or near the asphalt surface. We need clear access to do our work.
Trim Landscaping: If you have grass, bushes, or trees overhanging the edges of your driveway, trim them back a bit. This prevents sealer from getting on your plants and gives us room to work right up to the edge.
Turn Off Sprinklers: Make sure your automatic sprinklers are off for at least 24 hours before the work and for at least 48 hours afterward. We don't want any water hitting the fresh sealer.
Communicate: If you have any specific concerns, like a tricky drainage spot or a particular area you're worried about, point it out to the crew leader when they arrive. Good communication prevents misunderstandings.
Questions to Ask Before You Sign That Contract
Before you commit to anyone, make sure you're comfortable with the answers to these questions. It'll save you headaches down the road:
What type of sealer do you use? There are different types out there. Coal tar emulsion and asphalt emulsion are the most common. Ask them to explain the pros and cons of what they use. Here at Mighty Paving Solutions, we typically use a high-quality asphalt emulsion because it's environmentally friendly and holds up great to our Yakima weather.
How many coats will you apply? Two thin coats are always better than one thick one. A single thick coat won't cure properly and can peel. Make sure two coats are standard.
What's your crack filling process? As I mentioned, crack filling is crucial. Ask if they use hot-applied rubberized filler for larger cracks. If they just plan to spray over them, that's a red flag.
What's your surface preparation process? Get specifics. Do they blow, sweep, power wash, treat oil spots? A thorough cleaning is key for adhesion.
What's the recommended curing time? They should give you a clear timeframe for when you can drive on it. If they say you can drive on it in a few hours, be wary.
Do you carry insurance? This is non-negotiable. Make sure they have liability insurance and workers' compensation. You don't want to be on the hook if someone gets hurt or property gets damaged.
Do you offer a warranty? A reputable contractor will stand behind their work. Ask what their warranty covers and for how long.
Can you provide references? Any good contractor should be happy to provide contact information for previous customers. You can also check online reviews.
Getting your asphalt sealcoated is a smart move for protecting your pavement. By understanding the timeline, what to expect, how to prepare, and what questions to ask, you're setting yourself up for a successful project and a driveway that looks great and lasts longer. Don't rush it, do your homework, and you'll be glad you did.